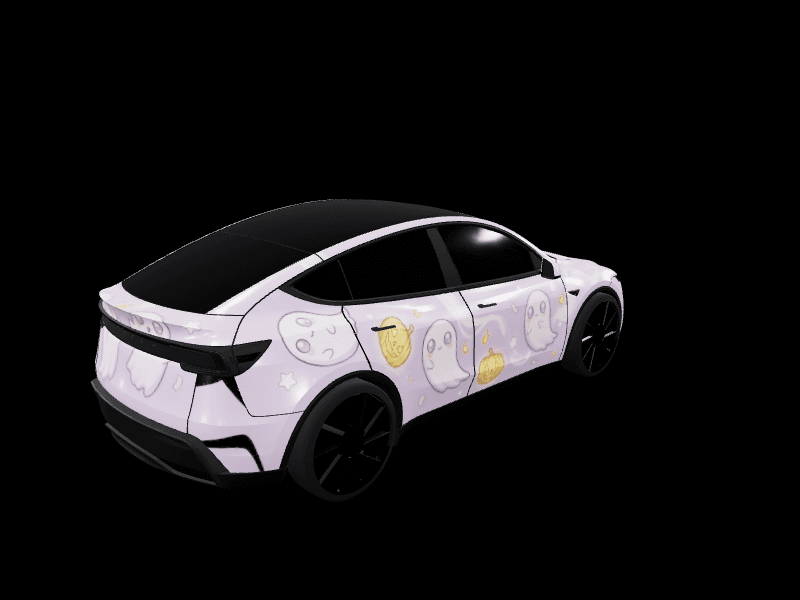
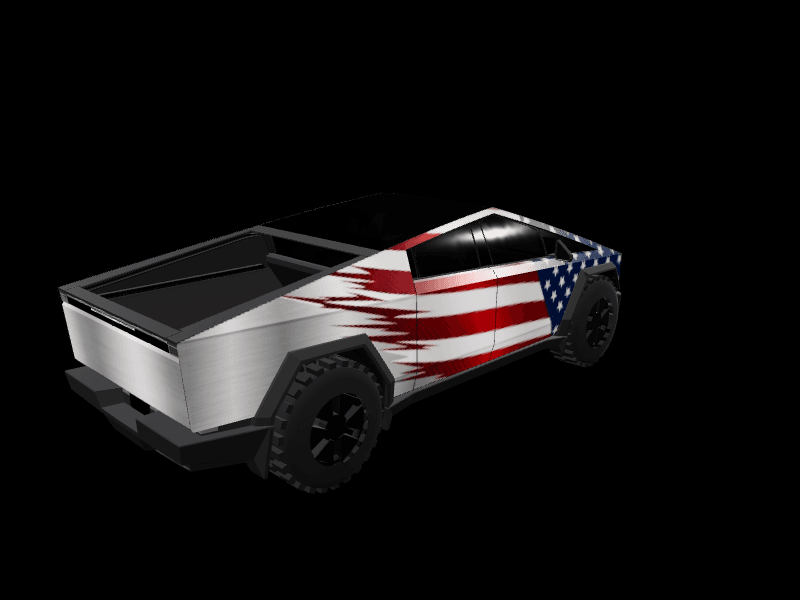
Your first Tesla wrap in 5 minutes
Open the studio, pick your model, drop an image, export a Tesla-ready PNG. Five minutes, no design experience needed.

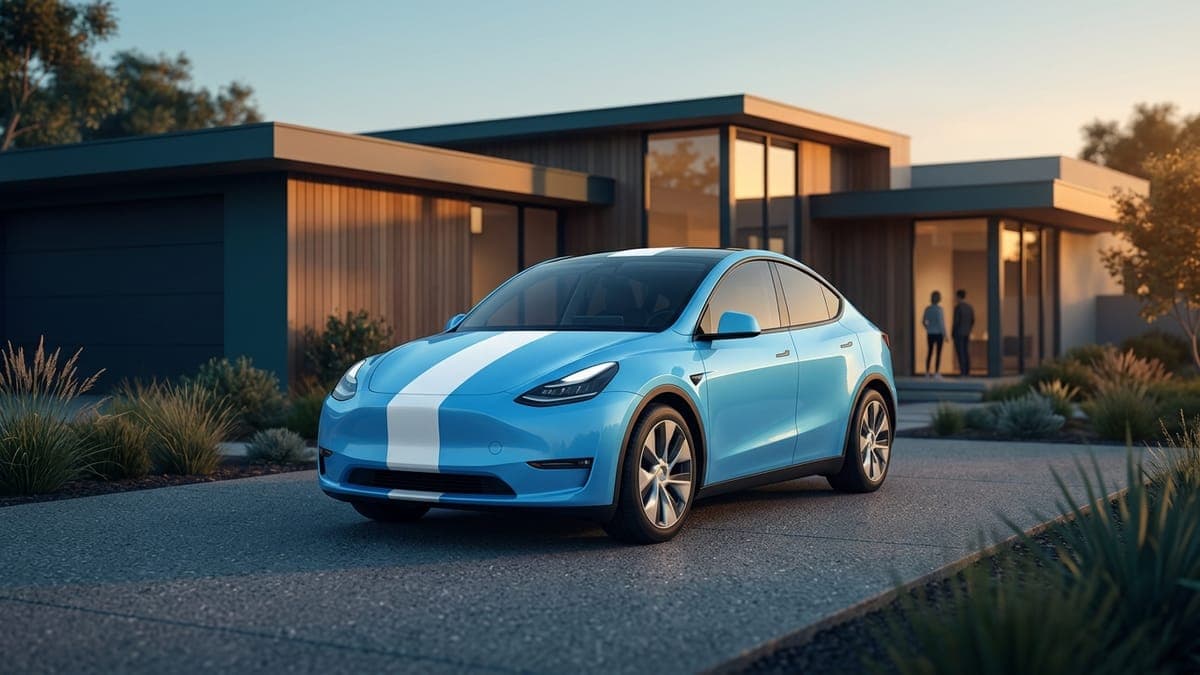
Five minutes from sign-up to a wrap file on your computer. Here's the shortest path through the studio.
You don't need Photoshop. You don't need a design background. You need a Tesla, a browser, and an image you like (or a one-line prompt you can hand to the AI). The studio handles the rest.
Step 1: Pick your model
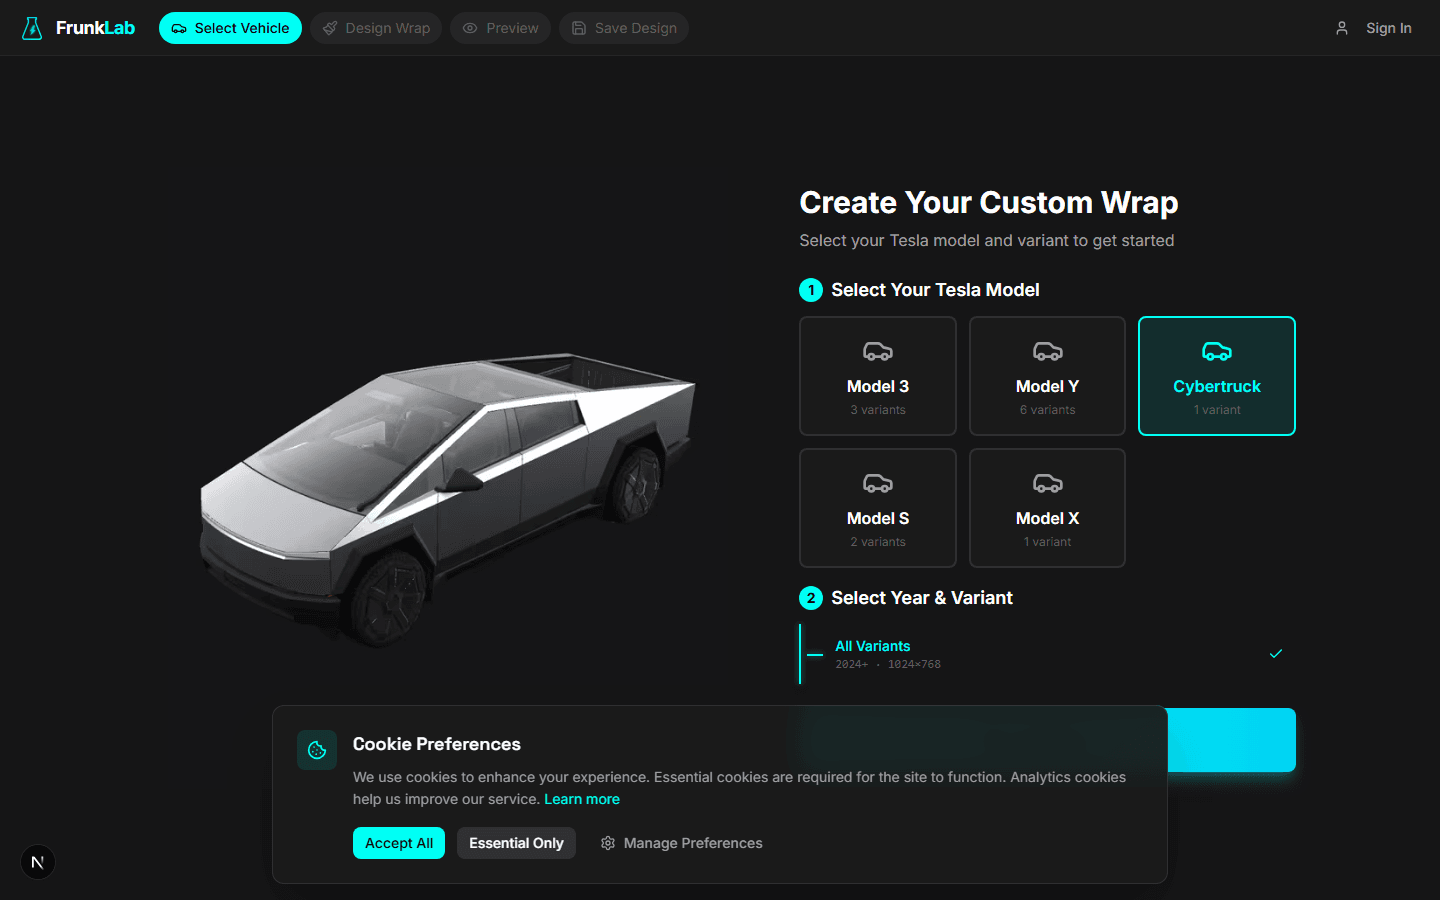
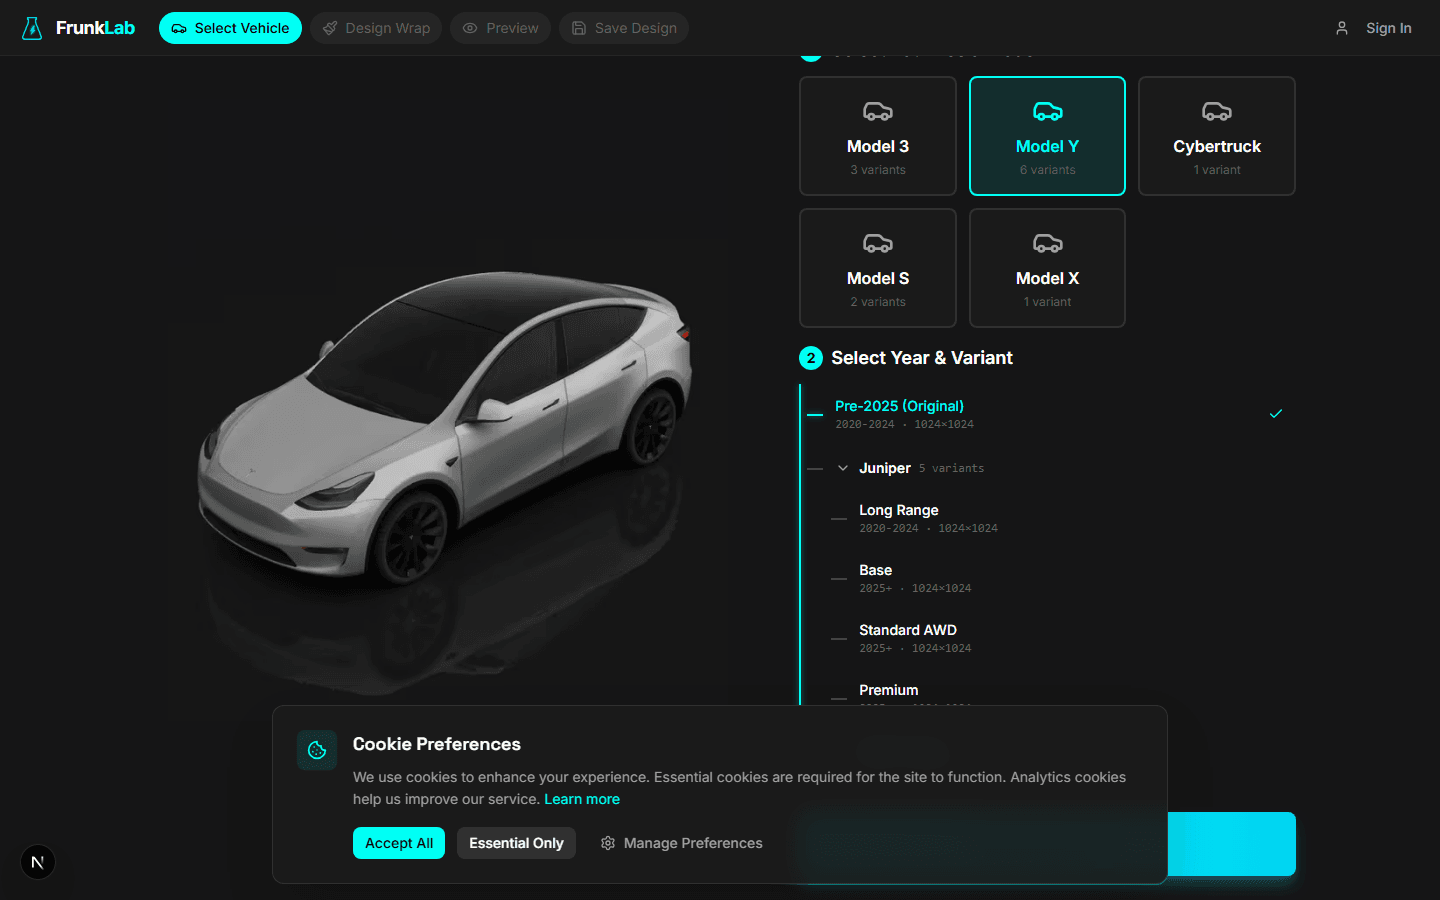
Open the studio and you land on the vehicle picker. Pick the Tesla you own. The picker covers Model 3 (Pre-2024 Original, Highland Base, Highland Performance), Model Y (Pre-2025 Original, the three-row Model Y L, and the Juniper 2025 variants), Cybertruck, Model S 2021, Model S 2025 Plaid, and Model X 2021.
Every model in the picker, Model S and Model X included, previews on a rotating 3D car before you export.
Click your variant and hit "Start Designing."
Step 2: Get familiar with the editor
The editor has three regions. Toolbar on the left (image upload, AI generation, shapes, text, color). Canvas in the middle showing the top-down template. Layers panel on the right.
The white area on the canvas is the body, bumpers included. The dark areas are what the wrap won't cover (windows, lights and the gaps between panels). Anything you draw in the white area shows up on your car. Anything you draw in the dark areas gets clipped.
Most templates are 1024x1024 pixels. The Cybertruck is 1024x768 because it's wider than it is long when viewed from above. The studio handles the sizing automatically; you just need to know the shape so you don't put your favorite text exactly where the windshield is.
Step 3: Add a design (three options)
You have three ways to fill the body. Pick the one that matches what you came here for.
Option A: Upload your own image
Click Upload Image in the toolbar and pick a JPG, PNG, GIF or WebP from your computer (up to 10 MB). A Crop Image window opens with a crop box locked to your template's shape. You have two choices:
- Crop & Apply treats the crop as a full-car design. It stretches the image over the whole template and pins it in place, which is what you want for a texture or pattern that should cover the car.
- Skip Crop keeps the image as a movable layer. It lands in the middle of the template at up to half the template's width. Drag the corners to scale it, drag the center to move it, drag the rotation handle to rotate. Use this for a logo, a graphic or a photo that belongs on one panel.
Changed your mind about a pinned image? Right-click it and choose Unlock to move and resize it like any other layer.
The clip mask only shows your image inside the body panels. You can drag a layer past the edges; the parts that fall outside the white area simply disappear in preview and export. That means you can use an image bigger than the template and slide it around to crop visually.
Good source images: textures (wood grain, marble, brushed metal), patterns (camo, geometric tiles, topographic maps), photos with a strong single subject. Bad source images: anything that depends on small legible text, or a photo stretched over the whole car, which comes out scrambled because the template is the car unfolded flat. To put a pet or family photo on one panel the right way up, follow how to put a photo on your Tesla wrap.
Option B: Generate one with AI
Click the AI generation panel. Type a prompt that describes what you want as a texture or palette, not as a scene with a story. "Aurora borealis green and purple gradient with stars" works. "A Tesla driving through a forest" does not work because the AI doesn't know it's painting a wrap, it'll try to render a scene.
The AI Tesla wrap generator takes about half a minute per image. A free account gets 2 generations a month, and one-time packs add more. See pricing for the breakdown.
The first prompt is rarely the final design. Plan on 2-4 iterations. There's a whole tutorial on AI wrap prompts once you're past your first wrap.
Option C: Solid color
Click Background Fill in the toolbar. The Tesla tab has factory colors (Pearl White Multi-Coat, Solid Black, Midnight Silver Metallic, Deep Blue Metallic, Ultra Red, Quicksilver and a few more), Custom takes any hex code, and Gradient blends colors. The color fills the entire body uniformly.
This is the fastest way to land a clean look. Solid Midnight Silver, exported as-is, is a perfectly respectable first wrap and takes about 90 seconds end-to-end.
Step 4: Preview in 3D
Every model previews in 3D, Model S and Model X included. On a computer, the Live 3D panel beside the canvas mirrors your edits on the car as you draw, and the Preview button at the top opens a full-screen view.
The 3D preview shows your design on a model of your Tesla. This catches things the flat editor can't show you. Text upside-down on the passenger side. Color contrast that vanishes in shadow. Designs that look great as a square but read weird when wrapped around a quarter panel.
Spin the model with click-and-drag. Zoom with scroll. If something looks off, fix it in the editor and look again. It's normal to go back and forth a few times before you're happy.
Step 5: Save and download the PNG
When you're happy, click Save Design. Signed in, the design saves to your account and its own page opens, with a Download Wrap button. Signed out, Save Design offers Download Wrap directly.
The file is sized correctly for your vehicle (1024x1024 or 1024x768 for the Cybertruck), and the download compresses it, shrinking it if it has to, to stay under Tesla's 1MB limit. On the rare photo-heavy design that still doesn't fit, a message after the download tells you so. Use fewer photos or a flatter color palette and download again.
Save the file somewhere you can find it. The next step is getting it onto the car. On current software you can upload a wrap from the Tesla app in about a minute; on older software it goes on a USB drive, and the full walkthrough for that is in exporting your wrap to USB.
What "done" looks like
A PNG file on your computer, named whatever you saved it as, sized 1024x1024 (or 1024x768 for the Cybertruck), under 1MB. That file goes up through the Tesla app (or onto a USB stick in a specific folder), and the car shows your wrap on the in-dash illustration of itself.
You're not committing $3,000 to vinyl. You're not measuring quarter panels with a tape measure. You haven't called an installer. You've made a digital skin for a car you already own, and you can change it again tomorrow if you don't like it.
A few practical notes for first wraps
Keep your first design simple. Solid color, one accent shape, one small text element if you must. Photo-realistic designs are seductive but they get crushed by the small render size on the in-dash display. A bold solid color reads better at the size your car will actually show it.
Save your work. Save Design keeps the design in your account, and its page suggests a title you can change, so you can find it later.
Look at the community gallery before you start. Patterns repeat for a reason; the things that get the most likes tend to share characteristics (strong silhouette, two or three colors max, no tiny text). You'll absorb design rules in five minutes of scrolling that would take an hour to read.
If you would rather start from a finished design, the Tesla Model Y wraps and Tesla Model 3 wraps pages have hundreds you can open in the editor.
Ready when you are. Open the studio and make something.
Put a custom wrap on your Tesla
Free community designs for every model, or make your own in the browser.