Tutorials
Step-by-step walkthroughs of the FrunkLab studio with real screenshots.

How to design a Tesla wrap from Claude or ChatGPT
Connect FrunkLab to Claude, ChatGPT, Grok, Cursor or Claude Code once, then ask your assistant for a wrap or a lock chime in plain words. The result lands in your FrunkLab account, on the 3D car, ready for Paint Shop. Every step, with what the approval screen means.
 Dex Moreno · Sep 10, 20267 min
How to upload a custom wrap from the Tesla app (iPhone and Android)
Upload a wrap to your Tesla straight from your phone. Get the PNG onto the device, open Creations > Wrap in the Tesla app, check the 3D preview, and apply it. No USB drive, no computer.
Dex Moreno · Sep 1, 20269 min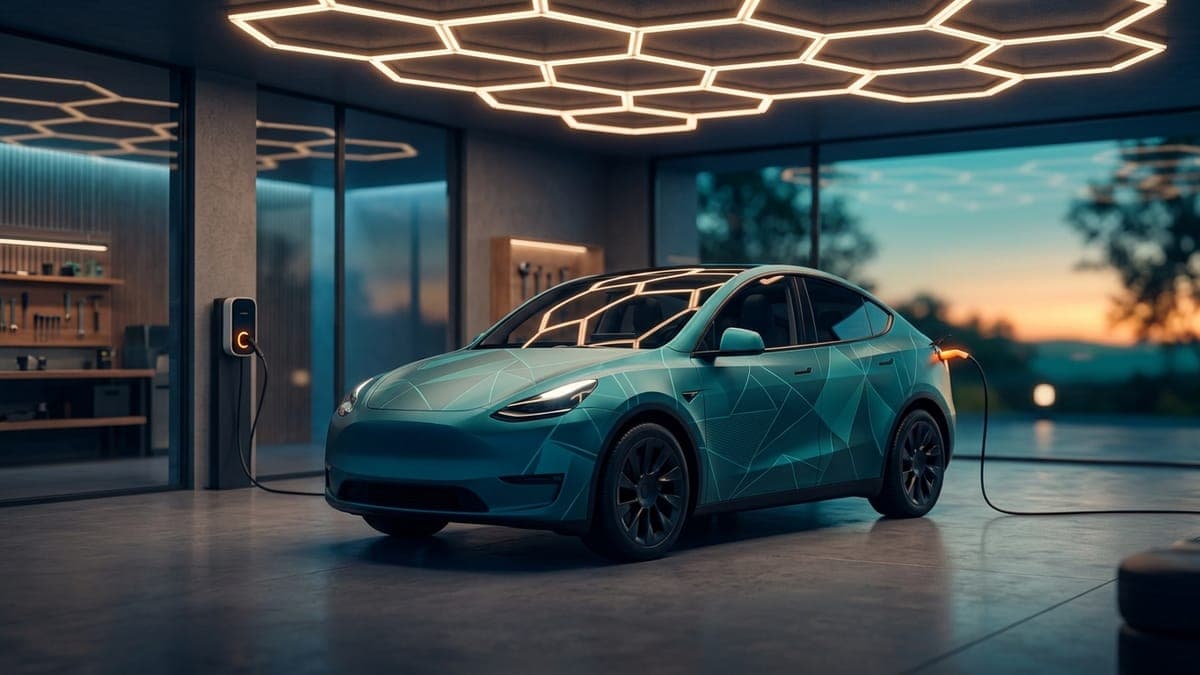
Designing in the Garage, a first lap in the 3D editor
A full walkthrough of the Garage, FrunkLab's 3D-first wrap editor. Pick your Tesla, lay a gradient base, place text and stickers directly on the car, check it under different lighting scenes, and save.
Dex Moreno · Jun 12, 20265 min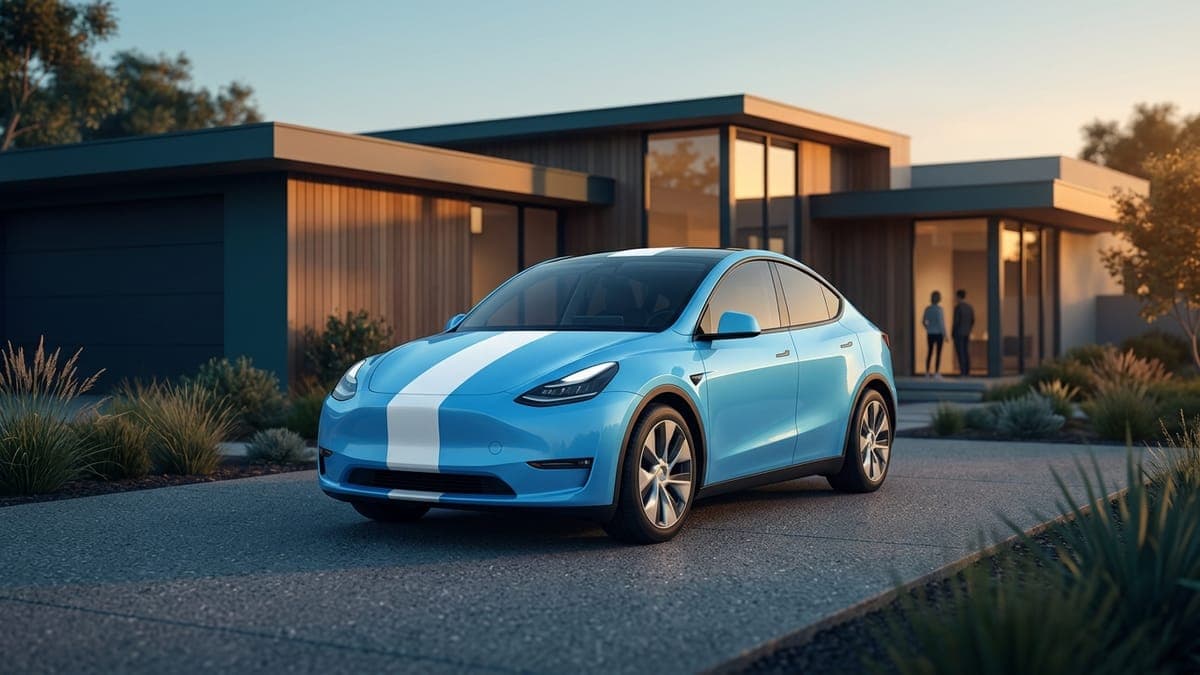
Your first Tesla wrap in 5 minutes
Open the studio, pick your model, drop an image, export a Tesla-ready PNG. Five minutes, no design experience needed.
Dex Moreno · Jun 3, 20267 min
Using the 3D preview to catch mistakes before export
The 3D preview shows your design on a real Tesla model. It catches off-panel art, upside-down text, and color contrast issues you can't see in the flat editor.
Dex Moreno · Jun 3, 20266 min
Exporting your wrap to USB and applying it in your Tesla
Format the USB, drop the PNG in the Wraps folder, apply it from your Tesla's Paint Shop. Five steps total.
Dex Moreno · Jun 3, 20266 min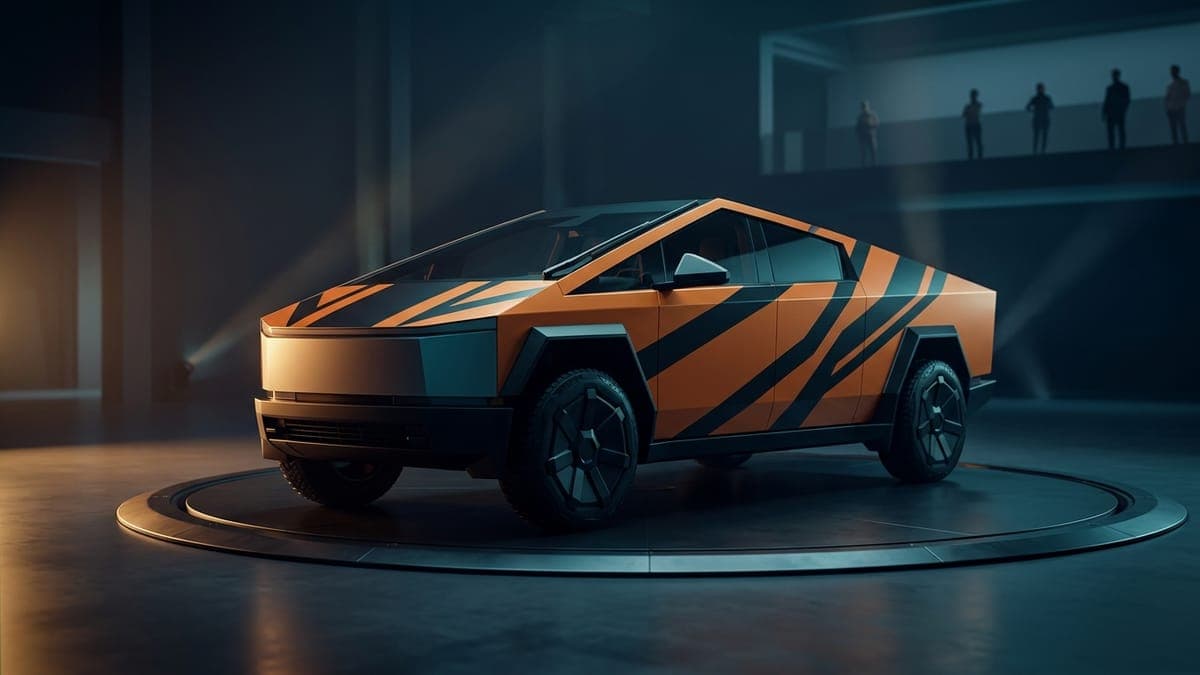
Designing for the Cybertruck (it's not like the others)
The Cybertruck template is 1024x768, not 1024x1024. Its flat panels reflect color literally. Here's how to design for it without surprises.
Dex Moreno · Jun 3, 20267 min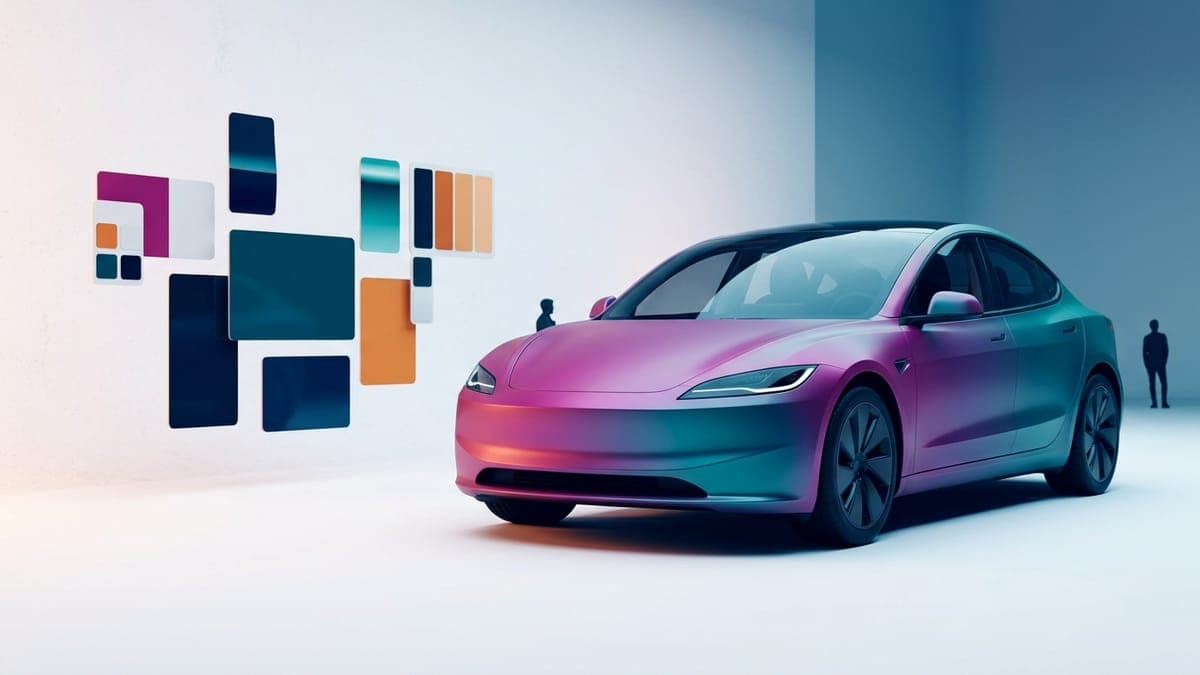
Working with colors, gradients, and the Tesla palette
When to use solid vs gradient. How the studio's color picker works. The built-in Tesla paint colors and when to match them.
 Sienna Park · Jun 3, 20265 min
Writing AI wrap prompts that actually work
Our AI generator responds well to specific texture and palette prompts. It fumbles legible text and brand logos. Here's the playbook.
Dex Moreno · Jun 3, 20268 min