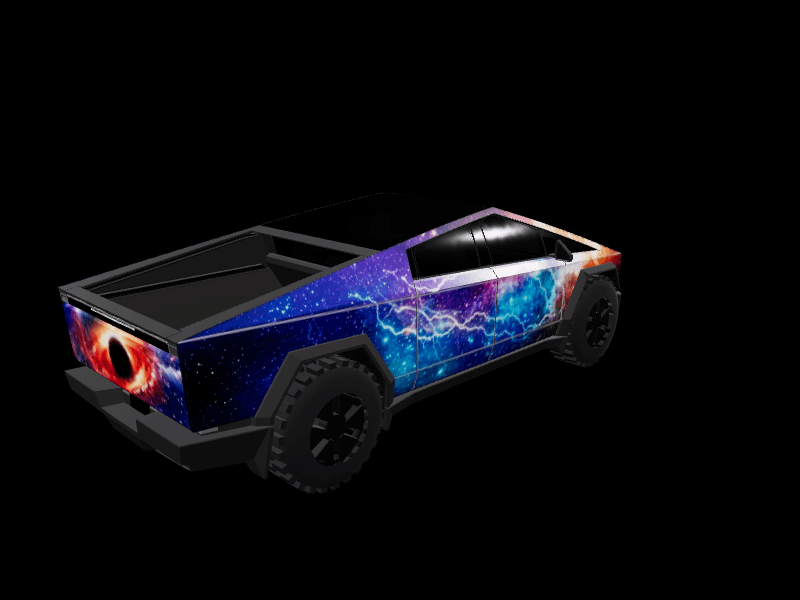
How to get a custom wrap for your Tesla
Every route to a custom Tesla wrap, in order of cost. Design a free digital wrap your car displays on its own screens, preview any look on a 3D model before spending money, and know exactly what to hand a vinyl shop if you go physical.

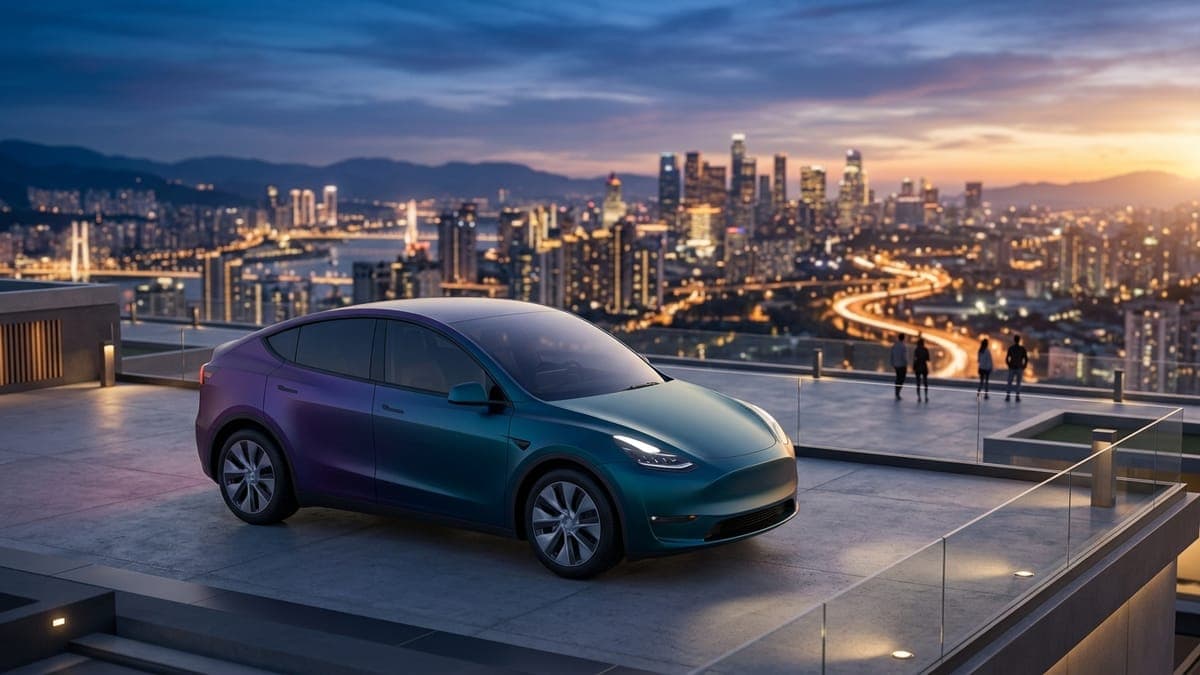
There are two ways to get a custom wrap on a Tesla. A digital wrap changes how your car looks on its touchscreen, charging screen, and the Tesla mobile app; you design it yourself in a browser, it costs nothing, and it takes about 15 minutes end to end. A physical vinyl wrap changes the actual body of the car; a shop installs it and a full wrap typically runs $2,000 to $6,000. The smart move is doing them in that order: design digitally first, live with the look on your screens for a while, then decide whether it deserves real vinyl.
This guide walks through both routes, from a blank template to a wrap on your car.
What counts as a custom Tesla wrap?
Tesla added official custom wrap support to its vehicle software: the car can display a custom image on its in-dash vehicle illustration wherever your Tesla renders itself. You supply a PNG painted onto Tesla's own top-down template for your model, and the car applies it in Toybox under Paint Shop. Tesla Paint Shop is a real Tesla feature, not a jailbreak or an app-store hack, and it doesn't touch the warranty.
A physical wrap is the traditional product: cast vinyl film applied panel by panel over the paint. It protects the paint underneath and comes off cleanly when done professionally, which is why wraps outsell repaints on Teslas.
The two share one thing that matters here: both start with a design decision. Whether the wrap ends up on your screen or on your quarter panels, you need to know what it looks like on your car first. That's the part you can do today for free.
How do I design a custom wrap for free?
Open the FrunkLab studio, pick your model, and you're looking at Tesla's official wrap template for that car: a flat, top-down unwrap of the body panels. Everything you place on it shows up in the matching spot on the car.
You have four ways to fill it:
- Draw and paint. Brushes, shapes, gradients, and a Tesla-matched color palette. Good for stripes, panels, and geometric designs.
- Type. Text tools with fonts and outlines, for lettering, numbers, and slogans.
- Upload images. Drop in your own artwork or photos and position them per panel.
- Generate with AI. Describe a style ("brushed titanium with copper circuit lines") and the AI paints the template for you, respecting the body shape. The free tier includes 2 generations a month, and you can retouch the result with the manual tools.
If starting from a blank template feels like a lot, don't. Fork something from the community gallery and edit it, or follow your first Tesla wrap, which gets a finished design out the door in about five minutes.
There's also a second editor for people who think in 3D rather than in flat templates: the Garage puts a live 3D model of your Tesla in front of you and you design directly on the car, clicking panels to place text and stickers and dragging elements around the body. Same designs, same export, different way of working.
How do I know what it looks like on the actual car?
This is the step that separates a wrap you love from a wrap you tolerate. Flat template art lies: a pattern that looks balanced as a rectangle can land badly across a door seam, and colors read differently on curved panels under real light.
FrunkLab renders your design on a rotating 3D model of your exact variant, with seven switchable scenes: a light or dark Showroom, Neon Bay, Cyber Garage, Retro Diner, City Square, Estate Drive and a moonlit Campsite. Spin the car, check the hood art from a walk-up angle, and see whether that gradient survives the fender curve. If you're weighing a vinyl purchase, this preview is the cheapest insurance you can buy: iterate until the look is right at $0, not at $3,000. The wrap visualizer guide covers this workflow in depth.
How do I get the wrap onto my Tesla?
Once the design is done, there are two ways to load it, and the easy one is new.
From the Tesla app (2026.26 and newer). Since the 2026 Summer Update, the Tesla app uploads wraps over the air. Export the PNG from the studio, save it to your phone, then open Creations > Wrap > Upload in the app. The app previews the design on a 3D model of your car and applies it with one tap. Start to finish is about two minutes; the app upload walkthrough covers every step.
By USB (every Paint Shop-equipped Tesla). The original route still works and needs no phone:
- Export the PNG from the studio. It comes out at Tesla's required size and under the 1MB cap, so there's nothing to convert.
- Format a USB drive as exFAT or FAT32 (your dashcam drive works too).
- Create a folder named
Wrapsat the root of the drive and copy the PNG into it. - Plug the drive into the car, open Toybox > Paint Shop, and select your design from the Wraps tab.
Your car now shows your design on the center display and in the Tesla app. Swapping designs later takes the same couple of minutes with a different file. The USB export walkthrough has screenshots for every step, including the mistakes that make the car ignore the file.
How do I turn a design into a physical vinyl wrap?
If the digital version convinces you, the physical route looks like this:
- Settle the design digitally first. Everything above still applies; the 3D preview is your proof that the concept works on your body lines.
- Find an installer. Search for certified wrap shops in your area (3M and Avery Dennison both maintain installer directories). Read reviews specifically about wraps, not tint.
- Bring your artwork. Export your design and take screenshots of the 3D preview from a few angles. For a printed custom wrap, shops re-set your artwork in their own print templates at production resolution; your files communicate the design, placement, and colors.
- Get quotes on material and coverage. A solid color-change wrap in stock film is the affordable end. Custom-printed wraps cost more because the film is printed, laminated, and then installed. Partial wraps (hood, roof, accents) cost a fraction of a full wrap.
- Plan for 3 to 5 days without the car for a full wrap done well.
Expect $2,000 to $6,000 for a full wrap depending on film, complexity, and your market, with custom prints at the upper half of that range. The full cost breakdown itemizes what moves the price, and digital wraps vs physical wraps is the honest comparison of what each product actually gets you.
Which Teslas can get a custom wrap?
Digital wraps: Model 3 (original and Highland), Model Y (original, Juniper, and Model Y L), Cybertruck, Model S, and Model X all get the full treatment, including the rotating 3D preview. If the car's software has Paint Shop, it can take the file.
Physical wraps: any Tesla, any year. Vinyl doesn't care about software versions.
One model-specific note: the Cybertruck's flat stainless panels are unusually good at both kinds of wrap. Big graphics land without fighting compound curves, digitally and in vinyl alike.
Frequently asked questions
Is the digital wrap visible on the outside of my car? No. It changes how the car draws itself on its own screens and in the Tesla app. Only vinyl changes what people see in the parking lot. That's also why it's free and reversible in minutes.
Do I need any design experience? No. The AI generator, the community gallery, and the template tools each give you a working starting point. Most first designs take five to fifteen minutes.
Will a custom wrap file void my warranty or break with updates? No. Paint Shop is Tesla's own feature and the wrap file rides through software updates. If an update ever resets the selection, re-picking your design from the Wraps tab takes seconds.
Can a shop print my FrunkLab design exactly? The design, yes; the file, not directly. On-screen wrap files are 1024px PNGs, which is far below print resolution. Shops re-produce your design in their production workflow, using your export and preview screenshots as the spec.
How much does FrunkLab cost? Designing, saving, previewing, and exporting are free, with no cap on saves or downloads. One-time packs from $4.99 add more AI generations; see pricing.
Design the wrap first, decide about the vinyl later: open the studio and see your Tesla wearing something new in the next quarter hour.
Put a custom wrap on your Tesla
Free community designs for every model, or make your own in the browser.