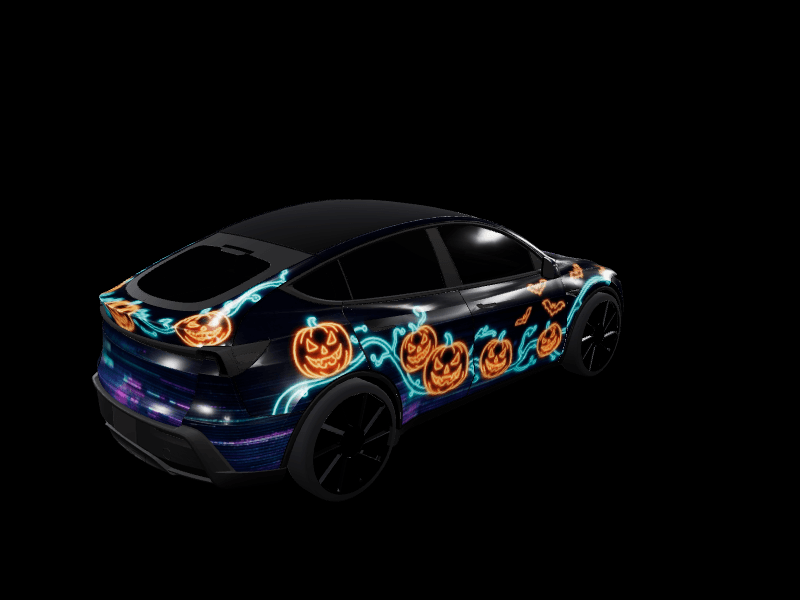
How to upload a custom wrap from the Tesla app (iPhone and Android)
Upload a wrap to your Tesla straight from your phone. Get the PNG onto the device, open Creations > Wrap in the Tesla app, check the 3D preview, and apply it. No USB drive, no computer.

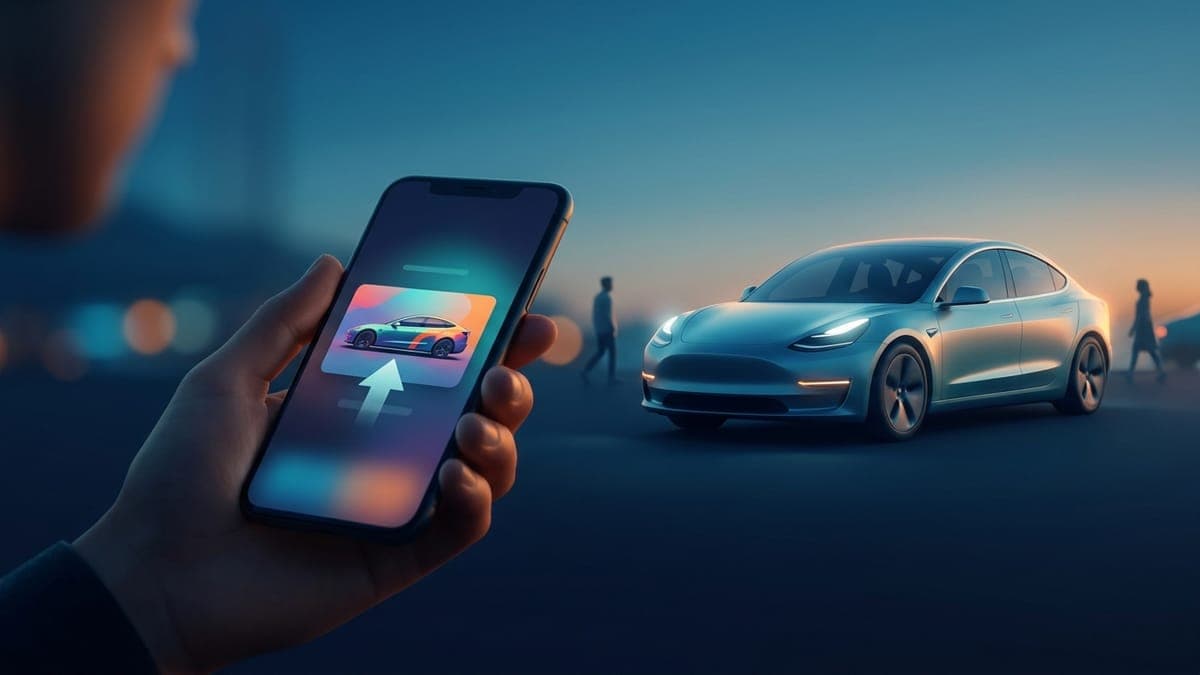
Since the 2026 Summer Update, the fastest way to get a custom wrap onto your Tesla is your phone. The Tesla app gained a Wrap tab that sends a design to the car over the air, previews it on a 3D model first, and applies it without a USB drive changing hands. This covers the whole path, from a finished PNG to your car wearing it.
What you need before you start:
- Car software 2026.26 or newer (the Summer Update). Check it in the car under Controls > Software, or at the bottom of the app's vehicle screen.
- Tesla app 4.59.1 or later. App Store or Play Store, whichever you use.
- A PNG under 1MB, sized to your model's template: 1024x1024 for Model 3, Model Y, Model S, and Model X, and 1024x768 for the Cybertruck. Filenames use letters, numbers, spaces, underscores, and dashes only, up to 30 characters.
Every export from the FrunkLab studio already meets the file rules, so there is nothing to resize or compress. If your car has not been offered 2026.26 yet, the USB method still works exactly as before and remains the offline fallback.
Step 1: Get the wrap PNG onto your phone
The upload reads from your phone's photo library, so the file has to be on the device first. Three common routes:
Designed on your phone. Open your design in your phone's browser and tap Download Wrap. The PNG comes out already at the right size for the model you picked. On Android it lands in Downloads, which the app's picker can open. On iPhone, Safari usually saves it to Files > Downloads, while the Tesla app picks from your Photos library, so one extra step is needed: open the file in the Files app, tap Share, then Save Image. That puts a copy in Photos, where the app can see it.
Designed on a computer. Save the design in the studio and click Download Wrap, then move the file across: AirDrop to an iPhone, Nearby Share or Google Drive to an Android, or email it to yourself on either. Send the original file rather than a screenshot. Screenshots re-encode at your screen resolution and quietly break the template sizing, which is the single most common reason a wrap gets rejected later.
Found one in the community gallery. Open a wrap on your phone and tap Download Wrap. Every gallery download is a car-ready PNG for that wrap's vehicle, and on iPhone it needs the same Files to Photos step as above. Match the model: a Cybertruck file uses a landscape template and will not fit a Model Y.
No design yet? Describe one to the AI Tesla wrap generator, or follow the first-wrap walkthrough from blank template to exported PNG in about five minutes.
Step 2: Open Creations > Wrap in the Tesla app
Open the Tesla app and select your car. Find Creations in the menu, open the Wrap tab, and tap Upload.
The path is identical on iPhone and Android. The only difference shows up at the file picker in the next step: iOS opens the Photos sheet and will ask for photo access the first time, where Android opens its own file picker and may show Downloads and Photos as separate sources. If iOS only offers "Selected Photos" and your wrap is not among them, tap Manage and add it, or grant full access.
If Creations or the Wrap tab is missing entirely, that is a version problem, not a settings one. See the troubleshooting section below. Worth knowing: this works on cars with both AMD and Intel infotainment, and it was the first Creations feature to reach Intel-powered cars, so an older build date is not a disqualifier.
Step 3: Pick the file and check the 3D preview
Select your wrap PNG. The app renders it on a 3D model of your car, and you can rotate that model before anything reaches the vehicle.
Give it a real look. Check that hood art faces the way you intended, that side graphics sit where you expect, and that nothing important lands on a panel seam. If something is off, fix it in the studio and re-export. The 3D preview in the editor matches how the car renders the same file, so what you approved there is what you get here.
Step 4: Upload & Apply Wrap, or Upload Only
The app gives you two buttons, and the difference matters:
- Upload & Apply Wrap sends the file and switches to it immediately. The next time you look at the car's screen, or at your vehicle in the app, the design is on.
- Upload Only sends the file but leaves your current look alone. The design waits in the car's collection until you pick it.
Either way the transfer is over the air, so the car needs to be awake and connected. Nothing stays plugged in, and the wrap survives software updates.
Step 5: Find it on the car in Toybox > Paint Shop > Wraps
On the touchscreen, open Toybox > Paint Shop and select the Wraps tab. Everything you have uploaded from the app appears there next to anything loaded the old USB way, and switching between them is one tap.
Once applied, the wrap shows up wherever the car draws itself: the driving visualisation, the lock screen, the charging screen, and your vehicle illustration in the Tesla app. It does not appear on the physical paint, and it does not show on anyone else's screen. Tap Default to go back to the factory illustration whenever you like. This is an image the car displays, not a modification, so it is fully reversible and warranty-neutral.
Managing your wraps and the 10 + 10 limit
Tesla stores up to 10 wraps uploaded from the app, plus 10 more loaded from a USB drive, so 20 in total if you use both routes. They are counted separately, which is useful: if the app side is full, a USB drive still gives you room.
When you hit the limit the next upload is refused until you free a slot. Delete one from the same Wraps tab on the touchscreen. Deleting a wrap from the car does not touch the copy saved in your FrunkLab designs, so you can always send it again later.
Troubleshooting
The Wrap tab is not in the app. Car software below 2026.26 or the app below 4.59.1. Update both and reopen the app. Rollouts are staged, so a car that has not been offered the update yet just needs patience.
The app rejects the file. Almost always the file itself. It must be a PNG, under 1MB, between 512x512 and 1024x1024, with a filename of 30 characters or fewer using only letters, numbers, spaces, underscores, and dashes. A JPEG renamed to .png is still a JPEG and gets refused. Re-export from the studio rather than resizing in a photo editor, which tends to break the template layout.
The preview looks stretched or the art lands in odd places. The design was built for a different model's template. Templates are per-vehicle, and the Cybertruck's is a different shape entirely. Rebuild on the correct template, or find the same look already made for your model in the gallery.
My wrap isn't in the app's picker. On iPhone the picker shows Photos, and a PNG downloaded in Safari usually sits in Files > Downloads instead. Open it in the Files app, tap Share, then Save Image, and it should appear in the picker. If iOS only shares Selected Photos with the Tesla app, tap Manage and add the new image. On Android, switch the picker to its Downloads source.
The upload stalls or times out. The car has to be awake and online. Open the app's vehicle screen first and wait for it to connect, and prefer Wi-Fi if the car is parked in range. A car in deep sleep, in a garage with no signal, or in Service Mode will not receive the file.
"You have reached the limit." Ten app-uploaded wraps already on the car. Delete one from Toybox > Paint Shop > Wraps and try again.
No smartphone handy, or the car is stuck on older software. The USB route below is unchanged and works on every Paint Shop-equipped Tesla.
USB fallback in 60 seconds
Format a drive as exFAT or FAT32 (never NTFS, which the car ignores), create a folder named Wraps at the root, copy your PNGs into it, and plug the drive into a front data port (on many cars built since late 2021 that is the glovebox port; the console ports only charge). Then open Toybox > Paint Shop > Wraps and pick your design. The full USB walkthrough has the details, and the Tesla Paint Shop guide covers both routes side by side.
Frequently asked questions
Does this work on Android?
Yes. The Creations > Wrap > Upload path is the same on both platforms, and the only difference is the file picker: Android opens its own picker with Downloads and Photos as separate sources, while iOS opens the Photos sheet and asks for photo access the first time.
Can I upload more than one wrap at a time?
No. The app takes one file per upload, though you can repeat it until you reach the 10-wrap app limit. If you want a batch on the car at once, a USB drive carries up to 10 files in a single go.
Will my wrap survive a software update?
Yes. Uploaded wraps live on the car and stay through software updates. They are not tied to the USB drive or to your phone, so you can delete the file from your phone afterwards.
Can I delete a wrap from the app?
Wraps are managed on the car, not in the app. Open Toybox > Paint Shop on the touchscreen, go to the Wraps tab, and remove the ones you no longer want. That is also how you free a slot when you hit the limit.
Does the wrap show on my actual paint?
No. A Paint Shop wrap changes how your Tesla looks on its own screens and in the app. Nothing on the physical car changes, which is why it is free, instant, and reversible. If you are weighing this against real vinyl, the comparison guide has the costs.
The two-minute loop
What this feature really changes is iteration speed. The old loop was design, export, find a USB stick, format it, copy, walk out to the car. The new one is design, export, upload, look at the screen. Trying five variations of an idea went from an afternoon to a coffee break.
That speed rewards having designs worth iterating on. The custom Tesla wrap guide maps the whole landscape if you are starting fresh, you can design a Tesla wrap on your phone without a computer anywhere in the loop, and the studio is where the loop begins.
Get a wrap onto your Tesla
Grab a free community design, then load it in Paint Shop from the Tesla app or a USB drive.